Login
Log in if you have an account
Register your account here
By creating an account at Hartendief, you will be able to move through checkout faster, store multiple addresses, view and track your orders and more.
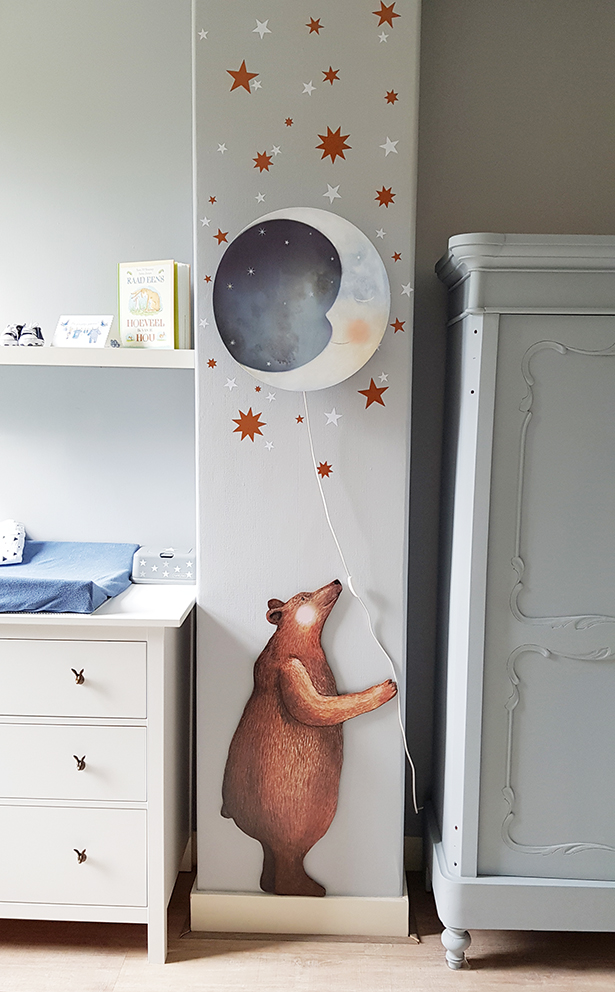
Create an accountCreate a fun 3D effect with your Hartendief wall decal
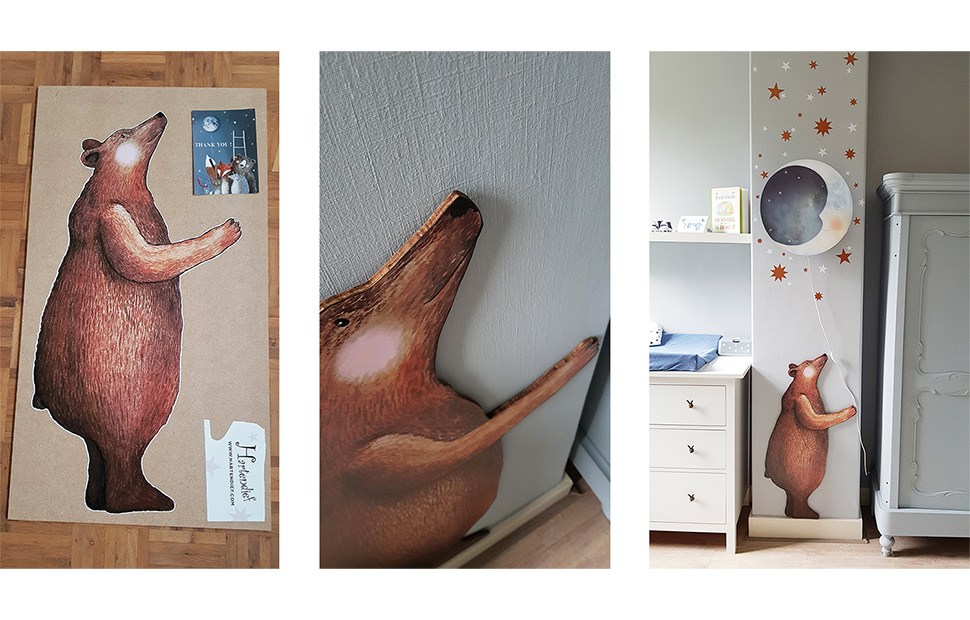
Tutorial of wall decal on wood DIY
We are so excited to share this DIY with you. It was photographed step by step by one of our customers. By placing your wall decal (for example the Bear Wall sticker) on a piece of wood you can use it on any type of wall, bring it with you when you move, or place it on a different wall if you wish to redesign after a while.
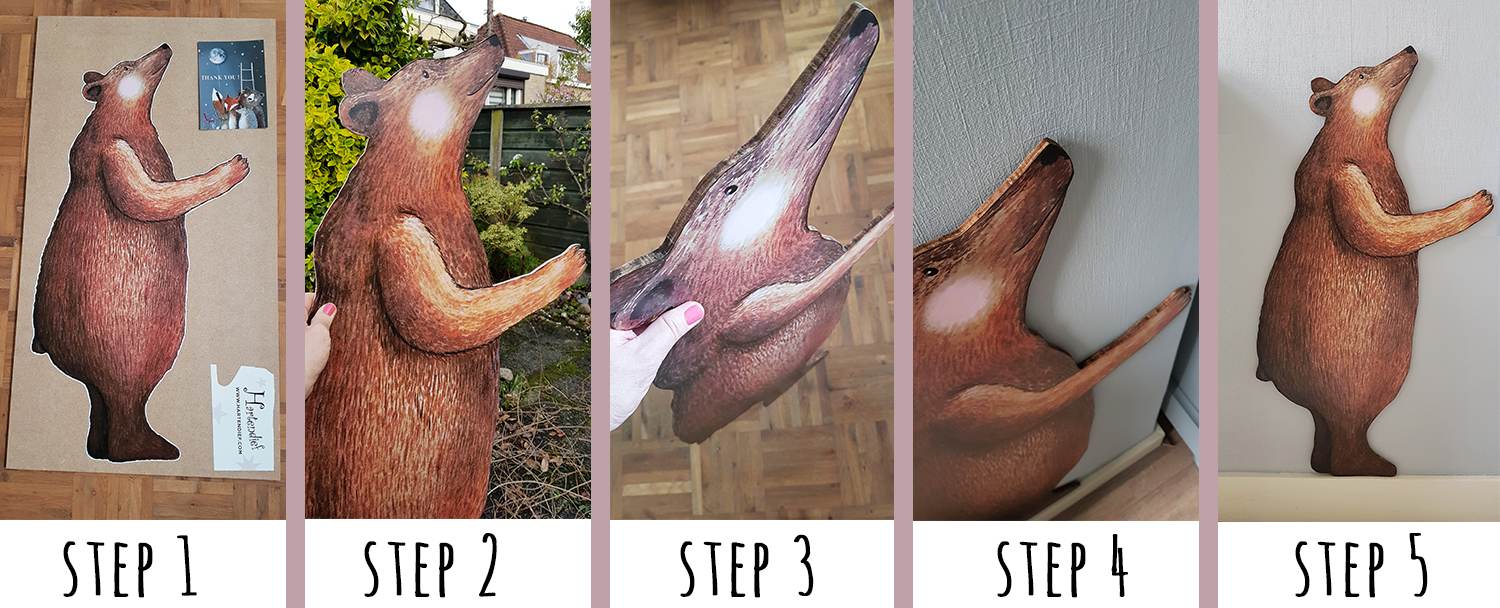
STEP 1
Cut the shape from the decal together with the backing. Place the shape on a piece of wood and draw the contours. Saw cut it along the contour line. (In this case our choice was to also cut off the white edge of the decal).
STEP 2
When cut from wood, sand the surface and edges. In this case a piece of 360 grain sand paper was used. Clean with a damp cloth and make sure the surface is dust free.
STEP 3
Stick the decal on the wooden shape. Start either bottom or top. It's easier doing this with two people. To get the best result you can choose to colour the edges with a marker to match the wood with the colour of the animal. Here brown was used to match the fur of the bear.
STEP 4
Find the correct place for the wall decal on your wall. We suggest you use double sided tape to install or 3M adhesive attachment strips. A small screw can also keep the decal in place.
STEP 5
That's all. You are done and can enjoy the amazing result!
Here's the step by step video tutorial:
Recent articles
View all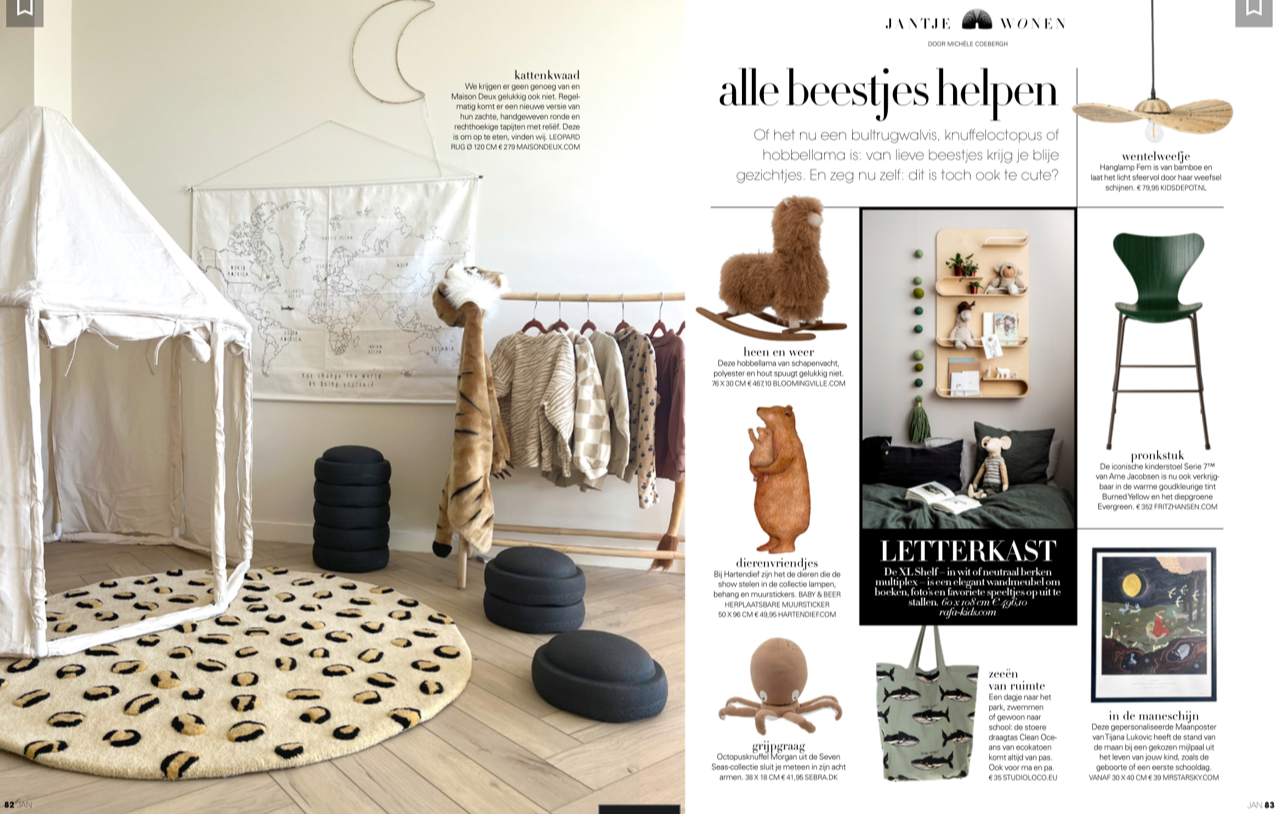
Spotted in JAN
Spotted in WIJ
...
C'est magnifique !!! Pourriez vous me dire ou puis-je trouver la lampe en forme de lune s'il vous plait ? Merci d'avance. Manon